
Amazon Projector & Basic Niche Mount
Unboxing & Set Up
***Please note that many links in this post will be affiliate links. While they cost you nothing extra, they do provide a bit of income for me. Income that helps keep me making videos and writing posts, so thank you for supporting me in that way!
Today’s post/video is all about the “Amazon” projectors! Choosing them, mounting them, calibrating them, all the things.
Before we get into the nitty gritty, I need to say that I’m using a Windows 10 computer, the free version of Adobe Reader, a Turewell H3 projector, and a Basic Niche mount for this video. I will try to be as broad as possible in my instructions and phrasing, but any specifics will refer to these parameters.
Let’s jump in!
What is an “Amazon projector?”
We have three basic categories of projectors. These are not “projectors for sewing” terms as much as general projector terms. There are Ultra Short Throws (USTs), which, as you can guess from the name, need very little distance for throwing a good sized projection. For our purposes, these are generally placed with the lens less than 2 feet from the cutting surface. There are also Short Throw projectors (ST), which need more space than USTs but less than usual to create a decent sized projection. For our purposes, these usually need between 2 and 4 feet to give us a great sized projection. And then there are Long Throw projectors, sometimes called Regular Throw projectors. As implied, these need a larger distance from lens to cutting surface in order to get a good sized, focused image. These generally need to be at least 6 feet from the cutting surface, which generally puts them out of range for our purposes. Once you take into account the foot or so of distance from your ceiling to the lens, in a typical American home, you’d have to be cutting on the floor to get the kind of minimum projection size that might work for us. (Side note: Many people have used mirrors to give them more distance between lens and cutting surface with a lot of math but a lot of success!) But a Long Throw just isn’t really ideal for our purposes.
However, a subset of projectors kind of walks the line between Short Throw and Long Throw that do often work for our purposes! These have been termed several things in the Projectors for Sewing group but, personally, I’ve settled on calling them the “Amazon Projectors”. Since usually these projectors are bought from Amazon, the name has seemed most appropriate to me. These projectors do often need at least 5 feet from lens to cutting surface and they tend to be much smaller (hence the other most common term, “mini projectors”) so the distance between the ceiling and the lens is less. With 8 foot ceilings and less than a foot eaten up by the size of the projector, you may just get a low table in. You can also compromise with a taller table and smaller projection size. Or maybe cut on the floor. Or you may have a room with taller than average ceilings, giving you even more options.
Why might you want an Amazon projector?
Newness, Returnability, etc.
Ultra Short Throws and Short Throws are very expensive new so are typically bought used for our purposes. While most of us have had very good experiences buying used, and eBay and other places do have buyer protection policies in place, not everyone is comfortable buying a used electronic. Buying new, usually from Amazon, makes some people more comfortable with buying an electronic, because returning it is usually much simpler. In addition, someone not sure if projector sewing is right for them might really appreciate the no-questions return policy Amazon generally has. It’s also much easier to go on Amazon and buy something right this second than to watch eBay to find a good deal on a used projector.
Weight and Size
Because Amazon projectors are quite small and very lightweight, they lend themselves very well to portable set ups or mounting in unconventional ways and locations. See my previous post on The Trouble with Mounts for a few ideas about unconventional mounts. The group Projectors for sewing is absolutely invaluable on this topic!
Mount and Forget-ableness
If you’re not looking for a portable set up, mounting an Amazon projector to the ceiling can be a really great way to mount the projector and just forget about it. You don’t lose any ability to walk around your cutting table. It’s up out of the way and out of sight until you need it.
For that matter, we have a Projectors for sewing member who purpose-makes mounts for Amazon projectors! Basic Niche is a great, cost effective option for getting your Amazon projector mounted easily, correctly, and without having to force a mount to work in a way it’s just not designed to work.
Wireless connections
While we can add devices to Short and Ultra Short Throws, some Amazon projectors come ready to connect wirelessly to your computer, phone, or tablet. If you’re working from a mobile device, this may be the easiest connection for you.
It can’t all be good…
You’re right. There are some absolute cons when it comes to Amazon projectors.
If sustainability is important to you, you’re buying a new product that won’t biodegrade well when you could be giving new life to an old projector.
Connecting wirelessly can reduce the size of your projection.
Often, Amazon projectors do not have the lumens to work well in bright environments.
You canNOT just buy any old projector on Amazon. You have to buy one with the proper resolution, which can be difficult information to find. The group Projectors for sewing is, once again, invaluable for listing known working and not working models.
You must mount these, unlike USTs. Mounting them will mean dealing with cords from your ceiling or wall.
These are often off-brand or no-name companies that do not have support after you purchase. Manuals as well as replacement parts are difficult to impossible to find online.
What about cost?
The costs are pretty much a wash, in my opinion.
You can find Amazon projectors from $50ish up to $150ish. Mounts range from $10 up to $50.
Short Throws used on eBay can be found for as little as $50 but are often closer to $100. They require mounts that can range from $15 on up. Watch carefully for shipping costs.
Ultra Short Throws generally cost at least $75 and don’t necessarily need a mount. Watch for shipping costs.
Amazon projectors aren’t necessarily the cheapest, but they certainly can be. The used market for STs and USTs can be unpredictable and costs have seemed to rise since projector sewing became more popular. However, there are still good deals to be had if you decide one of the STs or USTs is the right projector for you.
I’ve decided to go for an Amazon projector…now what?
Check the group Projectors for sewing to figure out exactly which one to buy. There are a couple posts saved in the announcements to check out that will help you buy one of the ones we know works well. Add that one to your cart.
Determine how you’ll connect to your computer or mobile device.
If you’re choosing a corded connection, determine what cord you’ll need. Buy one of an appropriate length to reach from projector to computer (often one comes in the package but it’s often too short, 10 foot, 15 foot, 25 foot). Make sure both the projector and computer can use that cord. If not, buy whatever converter you may need if you’re changing from one port to another. The most likely cord will be HDMI. Your computer should have that or a VGA (HDMI to VGA converter). Your mobile device may have a converter (lightning port, USB C) available.
If you’re choosing a wireless connection and the projector comes wifi ready, you’re all set! If you’re choosing wireless and need to purchase something like a Chromecast, add that to your cart as well.
Choose a mount and buy that, too, if necessary. I won’t list all of the possible options here but I’ll link again to the Basic Niche mounts because these are hands down the best choice if you’re mounting to the ceiling. For temporary set ups or the more creative ones, more power to you! But I can’t list every possible combination of what you may need. This is where the Projectors for sewing group or my own group Dailey Sews & Stuff Friends can really help you out!
Start looking through the calibration information found in Sasha’s guide here and definitely download the calibration grid she made (Imperial, Metric).
Open your stuff as soon as it comes and get to testing and calibrating!
Step 1: Open the box!
Don’t wait around forever with the projector staring at you, mocking you from it’s box. Open it up and test it out, even if you can’t mount it right away. You’ll want to make sure everything is working as it should, you’ve got all your connections correct, and you don’t need to buy anything else.
Step 2: Make sure it works
Point it at a cleared wall space, connect to the power, and turn it on! Make sure everything is working, get familiar with the projector, and play around with the settings. Don’t forget to reset everything once you’re done playing around!
Step 3: Connect to your computer
First, make sure all your connections are functioning. You can really just projector your desktop screen if you’d like but it may be super helpful to project the calibration grid at this point. I can’t specify exactly how to do this because it will depend on the connection you choose.
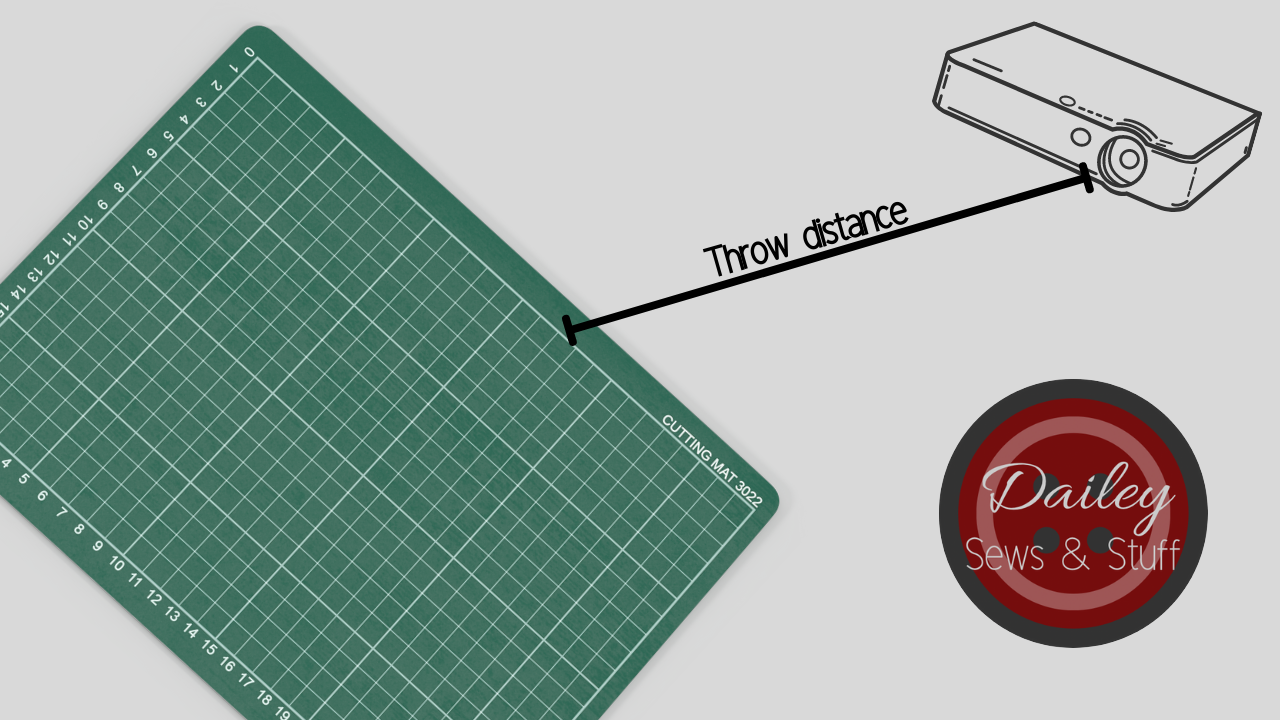
Step 4: Determine your offset and throw distance
This is also the time to see where the projection actually comes out of the lens. I’m stealing my own graphic from the Short Throw post here but this explains the basic concept of “offset.” Most Amazon projectors have little to no offset but you’ll want to be sure before mounting!

Since most often with an Amazon projector you’re planning to mount it “as high as possible,” place your projector the same distance from your wall that it will be from your cutting table when mounted. See how big a projection is possible and make sure you’re OK with that before you get to mounting. If it’s too small, see if you can find a solution such as a mirror set up, cutting on a lower table or the floor, coming to terms with fabric shifting, or maybe deciding to return and go with another projector. In some cases, you may be able to add some height to your throw (some have gone so far as to cut a hole in their ceiling to mount higher!
If you’re someone with vaulted ceilings or some other very tall ceiling, you may use this step instead to figure out exactly how far up you’ll need to mount your projector. Here’s another graphic stolen from the Short Throw post:
Step 5: Mount the projector
In order to make the next step easy, make sure your projector is pointed straight down at your mat when your mount it. It should be completely perpendicular to the mat. Any tilting here is likely to cause the calibration step to be more difficult than it has to be.
For this step, using the offset and throw distance information, figure out exactly where you’ll mount it. Since these projectors are fairly light, my suggestion is to attach it to the mount, hold it up to your ceiling, figure out exactly where you want it mounted, and mark the ceiling with a pencil.
Then remove the projector from the mount and secure the mount to the ceiling (see this post about secure mounting).
Reattach the projector, connect to power and your computer, and project your calibration grid! (This is found in Sasha’s guide here , Imperial grid, and Metric.)
The video features my using the Basic Niche mount and I really cannot recommend it enough. Most mounts we have used are just being made to work in a way they aren’t designed to work. Projector mounts are not made to project vertically down. That’s why a mount purpose built for projector sewing is so awesome!
Step 6: Calibrate
Everyone is terrified of this stage but you’re most likely making it to be way worse than it actually will be!
Before we even begin to mess with the computer, let’s make sure we’re set up for success. Is your mat totally flat? Is it level? Is the projector completely perpendicular to the mat? If you said “no” to any of these, take the time now to adjust those things. If all three are a “yes,” this step will be easy!
You’ll need the calibration grid (Imperial, Metric) to do this step. You may also want to look at Dan Oen’s graphic here about keystones so you can understand the relationship between the projector position and what the projected image will look like.

It can also help to have your projection Full Screen. First, follow these steps in this Quick Tip video to get your settings correct. Then, use Control L to make Adobe full screen.
The Goal
The ultimate goal of calibration is to have a square image (meaning the corners are 90 degrees) and to have the 16x25” box be within 1/4” all the way around. I go into calibration goals more in depth here.
The graphic above really shows the importance of a square image. And if the 16x24” box is within 1/4” all the way around, you’ll also have a correctly sized image.
So, connect to your computer, open the calibration grid (Imperial, Metric), and let’s tackle this step!
Part A: Keystones
Begin by putting your zoom at about 33% (use Control+Y if in full screen). This isn’t likely to be your final zoom, but it’s a good place to start. Compare the image on your mat to the keystone graphic above. Looking at the biggest box you can see in your projected image, does it look like the center image or one of the outer images?
If it looks like the center image, yay! Move on to the zoom.
If it looks like an outer image, adjust your mount to get your image square. The Basic Niche mounts come with leveling screws that allow you to minutely adjust each corner of your projector to get it square. Turn the screw tighter to raise the corner and make the image in that corresponding corner bigger or loosen it to lower the corner and make the corresponding corner smaller.
Part B: Zoom
Now, if you’re in full screen, use Control+Y to open the zoom window. adjust the zoom percentage up or down until the 1” boxes are fairly close to correct.
Then ignore all of the small boxes and look at the 16x24” box. Begin adjusting up or down until this box is as close to perfect as possible. You can use decimals to adjust by tenths (33.7 for instance) to get a more exact zoom fit. Once your 16x24” box is as perfect as you can get, then you can look at the smaller boxes. Like magic, they all should be lined up, too!
If you’re noticing any keystones at this point, go back and repeat the keystone steps and then the zoom steps until you’re confident your calibration is close enough to use!
Step 7: Test it out
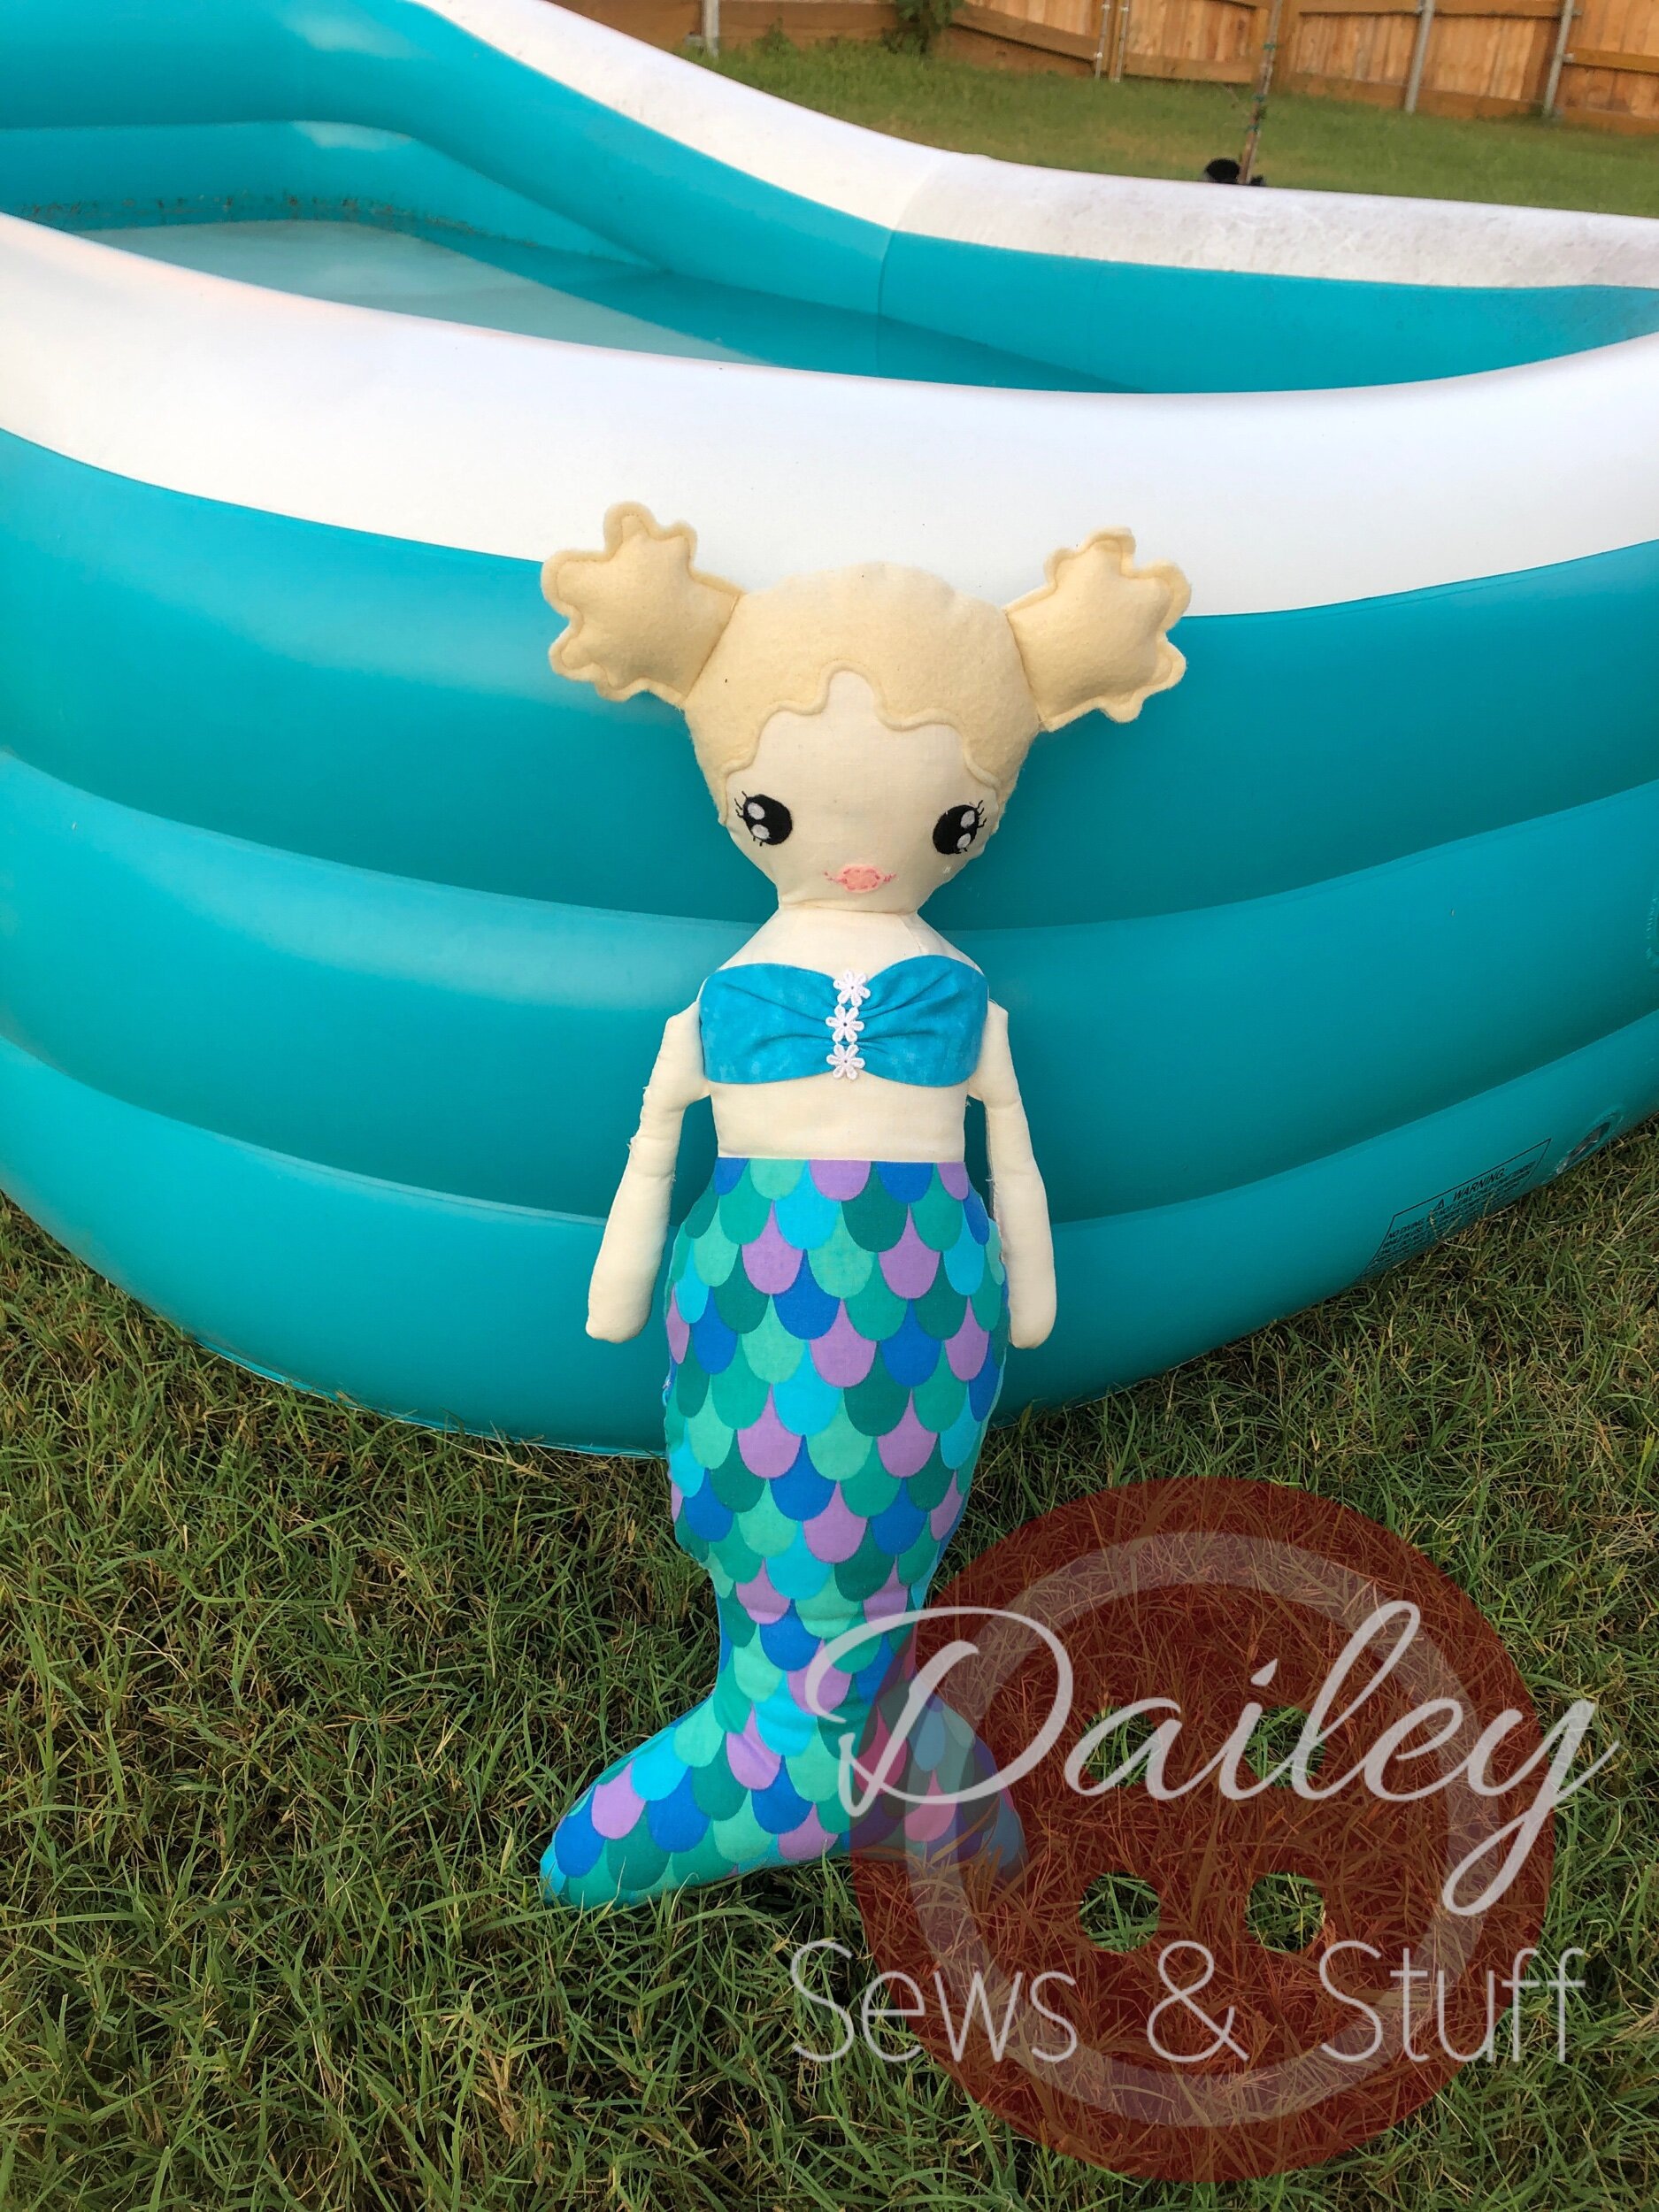
Last but certainly not least, let’s try this new toy out! Load a projector file pattern and start cutting! Louise at Rag Rascal is a new doll designer with excellent projector patterns if you’re looking for a project to try! Her FREE mermaid doll, Shelley, is soon to be released as of this writing and I really enjoyed making them for my girls!

Step 8: Learn more!
First, be sure you’ve joined the projectors for sewing group (want to see how it all began? Watch this!)
Wanting assurance that your calibration is good enough to use? Watch this video.
Want to learn how to use Adobe most effectively for projecting? Check out this playlist.
Want to know how to use PDF Stitcher to make your Letter or A4 patterns into a projector file? Or to enhance your A0 or projector files even more? Check out this playlist.
Want to digitally alter your patterns before cutting? Try this one.
Want some quick tips that will make projecting that much easier? Try this playlist.
New videos are being added to my channel so be sure to subscribe here.
You can also follow me on IG or Facebook and join my Facebook group!