
Recovering a Chair Cushion
Post contains affiliate links. Thank you for supporting my blog/channel in this way without spending any extra money!
So, uhh, I guess you could say this is an “& Stuff” video this week. Ha! It’s not projecting or sewing, though it does involve fabric…
I bought a couple dining room chairs from an estate auction. We needed a third chair for our kitchen table (the first two are already mismatched) and my husband had been asking for a chair by the front door for putting on his shoes. So, for a whopping $12 and some odd cents, I bought a pair of chairs! The cushions were covered in a very late 80s/early 90s peach colored fabric. (That’s me going off early childhood memories, feel free to correct my decades there…) It a) isn’t really by style, b) was quite worn in the corners, and c) really didn’t go with the colors in the entry way.
But, coming from a long line of DIYers, I was not too worried about this. I have recovered many a chair in my day! And I decided to bring y'all along for the ride.
Now, please note that I am in no way a professional upholsterer. There are possibly better ways to do this. There are people that do it better than I do. And, especially when it comes to the corners, there are lots of acceptable ways to do the same job. But this should get any beginner started!
Also note I tried to get fancy with using vinyl to cover my fabric before covering my seat and that failed miserably. See video for details. I have some thoughts on why it failed and how you might have more success.


Tools you’ll need:
A chair with a cushion you no longer like
Fabric-enough to cover the cushion plus a little-that you do like (see more below)
A screwdriver to remove the seat cushion and later put it back-probably flat or Phillips head
A pair of pliers (needlenose is what I prefer) to pull the staples out
Helpful but not strictly necessary-a rotary cutter, mat, large quilting ruler, iron, hammer

Fabric considerations:
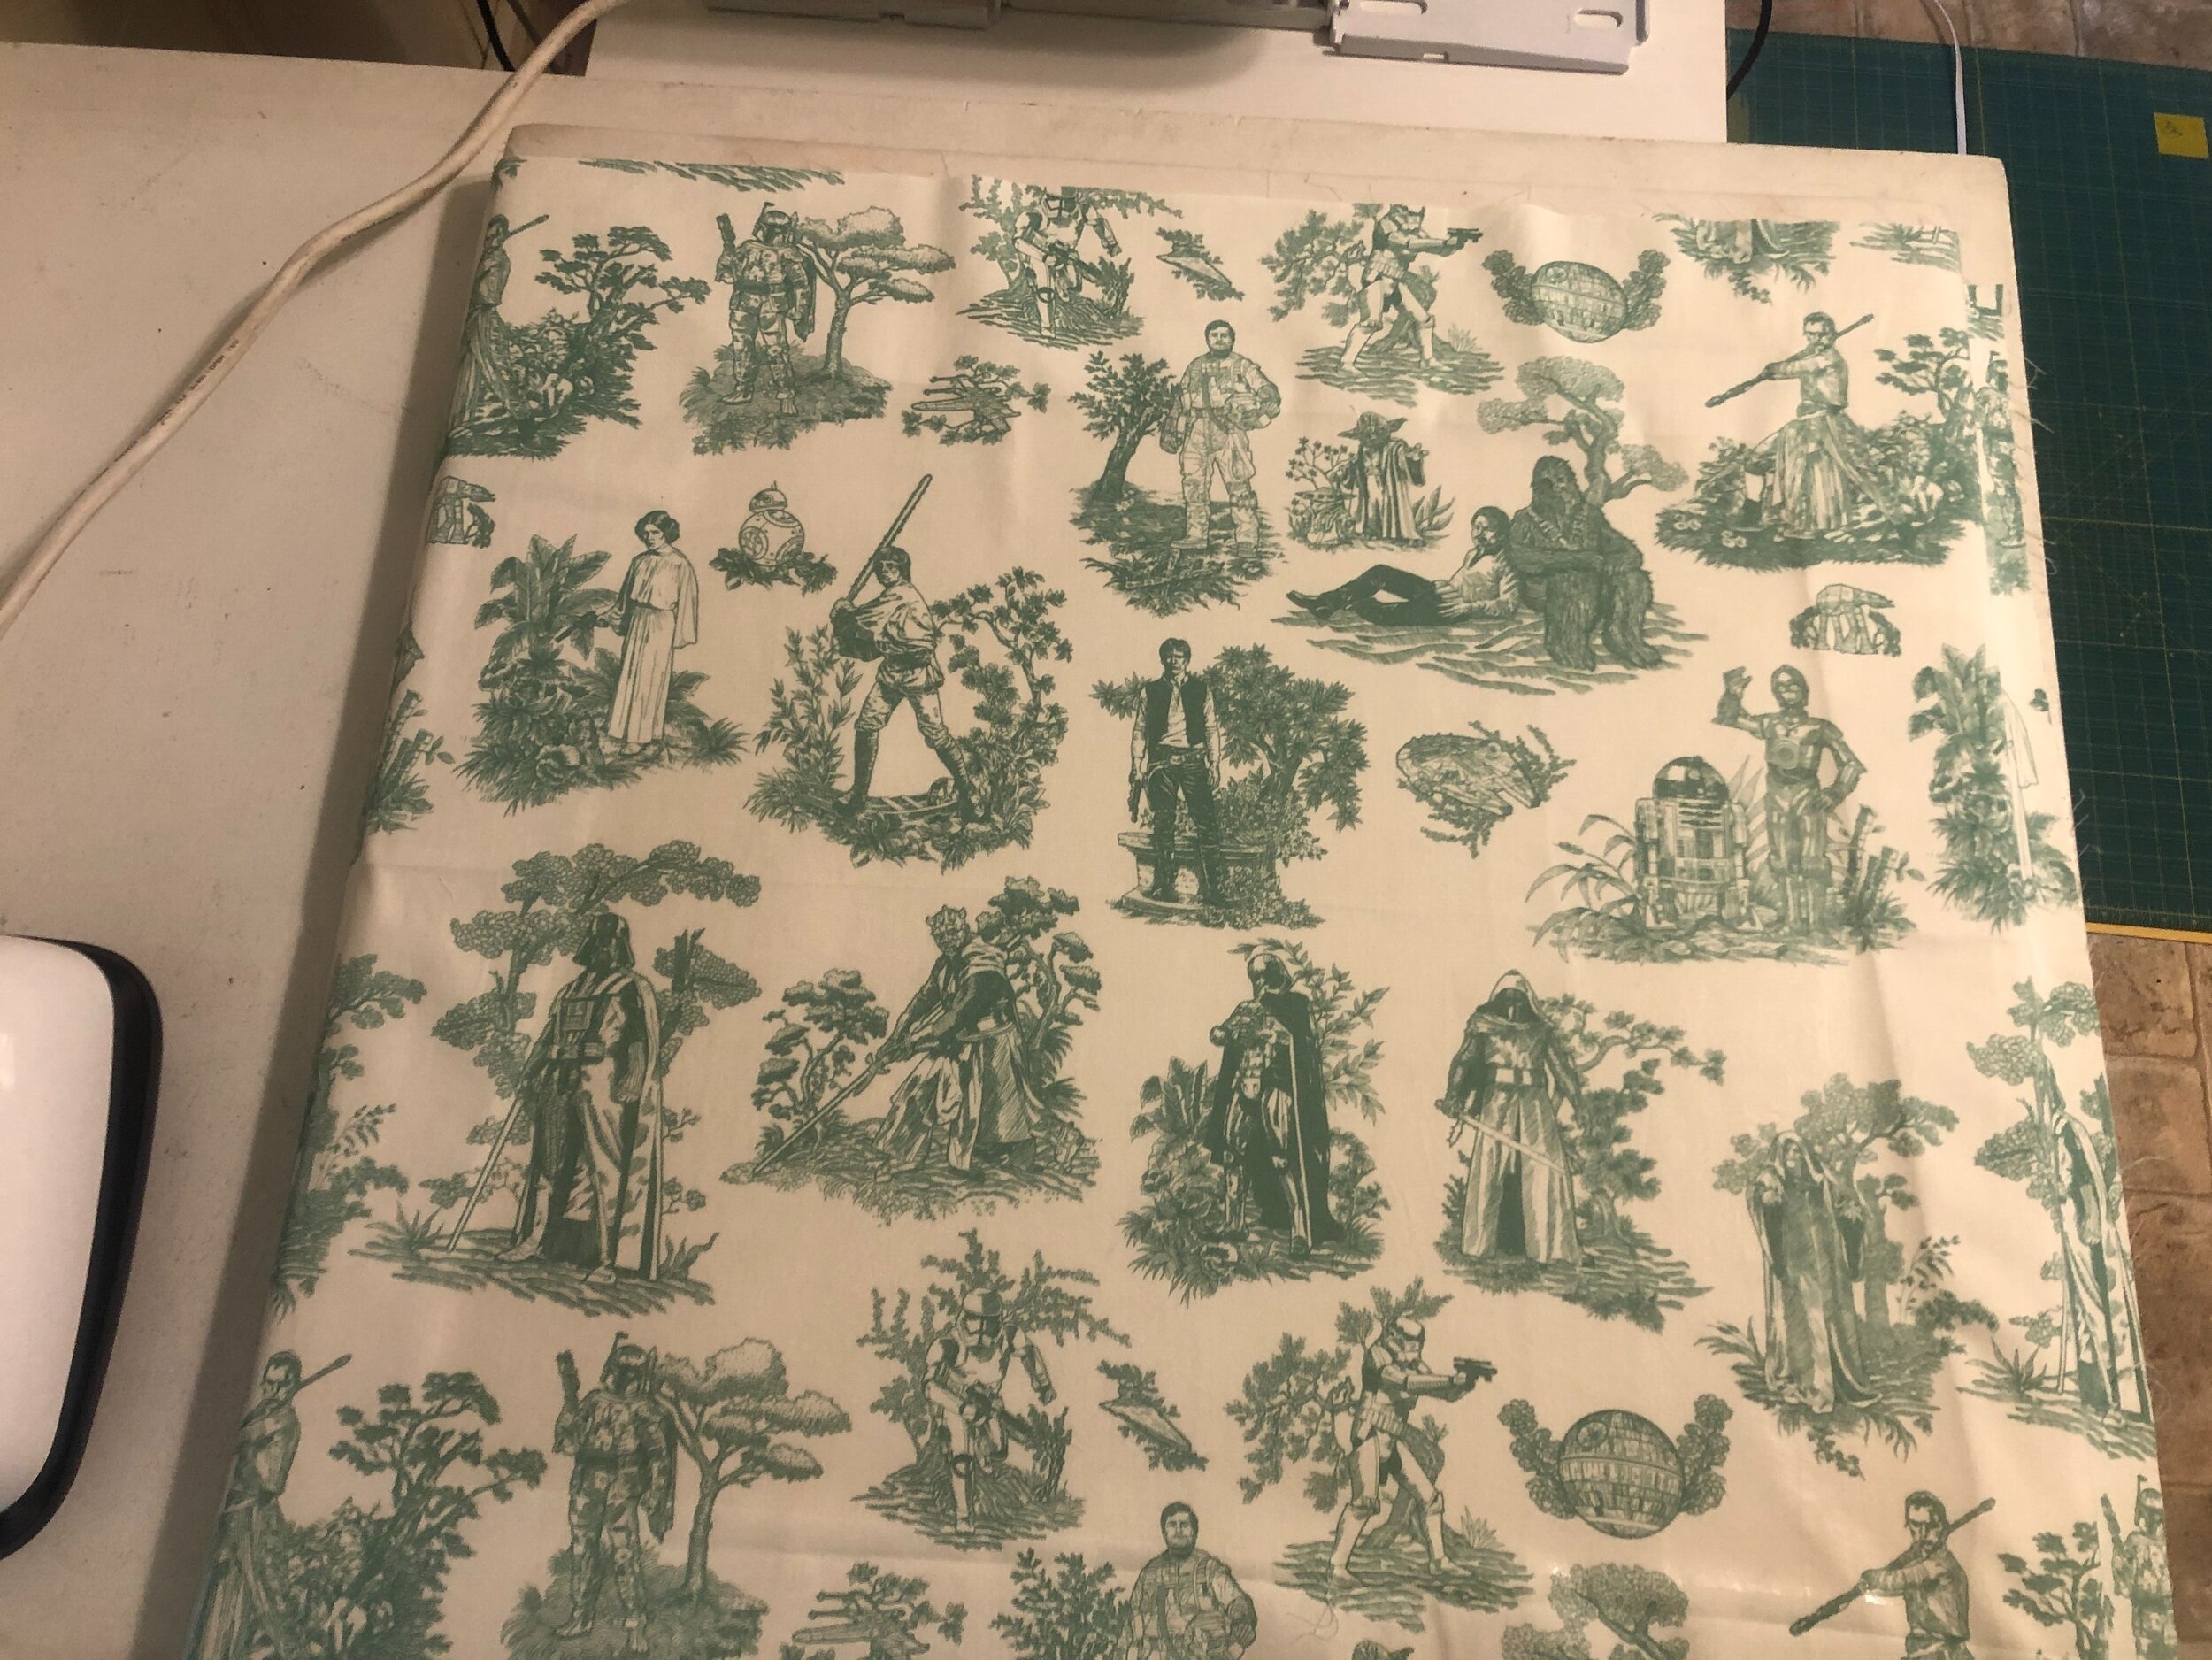
The biggest consideration is obviously something that works in your space and you like. Mine came from here.
You’ll want a woven fabric here. Knits will stretch and, over time, stretch out.
Think about the thickness you want. A canvas or heavy quilting cotton, maybe a duck cloth, upholstery fabric, those kinds of things are perfect. I chose a heavy quilting cotton for mine. The thicker and tighter the weave, the more difficult it will be to get staples through, BUT the longer it will last and the more resistant it will be to holes.
The last thing to consider is the design. Is this something you’ll need to cut with a design centered? Something you want a specific part of? Stripes or checks to keep lined up? Or is it plain that you’ll just cut a piece off without worrying about it?
If you’re buying rather than choosing from your extensive stash, eh hem, you’ll need something at least 24x24”. Since 1/2 yd is 18”, I would probably just buy a whole yard, personally. Then you’ve got plenty to work with and extra for your stash! Depending on the width of your fabric and of your chairs, a yard will likely cover two chairs. You may also be able to find a “fat half” piece that could cover your seat, again, depending on seat and fabric width. This is the only bit of math involved so either save yourself the math and buy a full yard or do a little math to save a little money.
Let’s jump in:
First, remove the staples holding the backing fabric on. If there is none, cool! Skip this step. Either save it to reuse, save it to pattern a new backing, or throw it away and skip the backing.
Then, remove the staples holding the fabric you’re replacing. Note that you can skip this step and just add another layer of fabric. I’ve done this before! But a couple things bear thinking about before making this decision:
the fabric does start to pile up after awhile
you’re not getting rid of any mold or bacteria you might want to if your chair has had many, many spills or an unknown past
stains, darker parts of the fabric, or stark contrasts may show up through your new layer of fabric, especially if it’s light and/or thin fabric
if it’s stretched out and then you pull the new layer taut, you can make wrinkles in the old layer, which can be hard to get rid of
(Now is probably a good time to iron your pretty new fabric if you haven’t yet. Just to get any fold lines out. Don’t stress about it.)
Next, lay out the new fabric and place the old fabric on top. If you’re “fussy cutting”-worried about centering a design, trying to capture the perfect scene- or you have a striped or checked fabric to make sure looks straight, be extra thoughtful about where you’re laying your fabric “template”. (This is why a full yard is just easier to work with.) Give yourself a little margin as you cut and go for it! I love a rotary cutter, mat, and quilting ruler for this but scissors work just fine. There’s no real need for precision in your cutting job. I like to audition it over the seat cushion now to be sure I cut it well and have what I want showing on the seat.


Now, put it back together!
Start with the pretty fabric. Staple one side about the middle. Pull the fabric taut (that’s a fun word that means tight enough it’s not loose but not so tight it’s really pulling back against you) and staple the opposite side about the middle. Then do the other two sides. Keep working around to get the fabric evenly pulled and stapled, leaving the corners for last. Lots of options for the corners but I basically eased mine in the best I could. You can miter them, you can fold them, you can cut out part of the fabric on the back and ease it in differently than I did…whatever you choose. If you have no idea about any of that, just go ahead and copy what I did.
Trim away any excess fabric. Not too close to the staples, you don’t want them to pull through the fabric, but you don’t want floppy fabric hanging down either. Pay special attention to where the screws will go through your chair seat. You really don’t want to put them through the fabric if you don’t have to. Pre-make a hole with your scissors if this is necessary.
Put the backing fabric back on…or don’t.
Screw the seat back onto the chair.

You’re done!


On a small personal note here, the channel is very close to monetization and has been for months. However, since it’s 4,000 watch hours in one year, now that we’ve passed my first anniversary, I lose hours watched last year as I gain hours watched this year. That means I’m not quite as close as I thought to monetization. Whomp whomp. It will happen, I know it will. I’m just being a little impatient!
Bringing back to where it matters to you, I plan to do the Amazon projector/Basic Niche mount video very soon. Followed by take 2 of the Short Throw video. Then I’ll do a few comparison videos and probably a new “how to choose a projector” video. At that point, it will be very silly for me to have FOUR projectors. And I have every intention of doing a giveaway for TWO projectors and everything (minus a computer) that you’ll need to get started and/or upgrade!
The best way you can help make this happen is to 1) watch my videos! and 2) share my videos with others. I try to make the videos to answer common questions, that way I can share them rather than type out long responses when someone has a projector question. Also, it helps YouTube decide my videos are worth suggesting to people when you subscribe to my channel, like the videos, and comment on them. It’s an easy, free way for you to help support me and get us that much closer to the giveaway!

In the video, I’m wearing a shirt I made with the Pattern Niche Rivera Raglan pattern and a triblend from Surge Fabric Shop. My pants are Peg Leg Add Ons from Patterns for Pirates made from Copperboom fabric I bought from Eden Elle.
Until next time, friends!